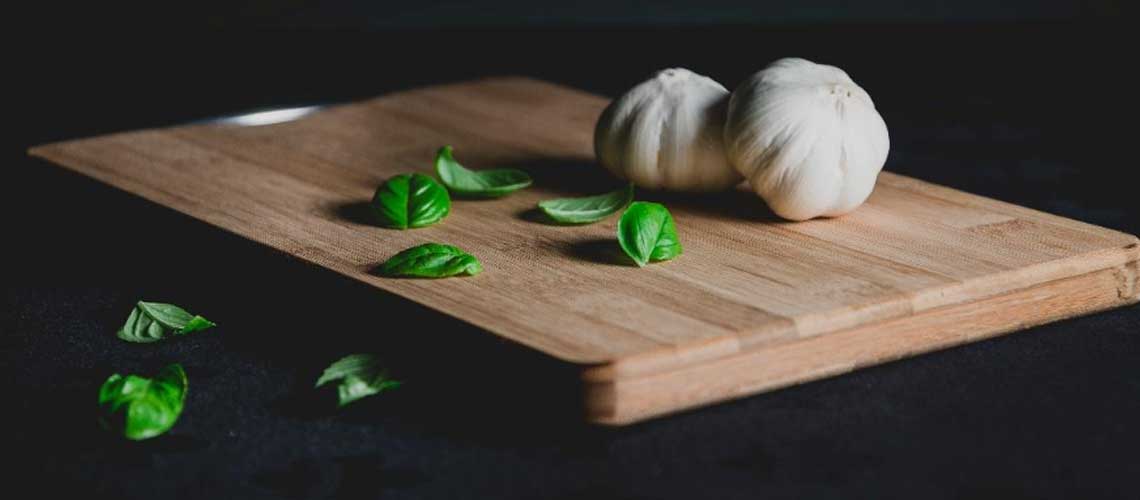
Are your countertops showing undue wear and tear? Do your kitchen knives dull faster than you can sharpen them? Protect your utensils and kitchen surfaces with an attractive butcher block cutting board you can simply make yourself.
What you will need:
Tools and Materials:
- Table Saw
- Belt Sander
- Tape Measure
- Clamps
- Router
- Goggles
- Dust Mask
- Glue (GlueDevil Wood Glue or Alcolin Fast Set Wood Glue)
- Mineral Oil (Food Grade)
Build it Hermanus stocks everything you will need for this project, you can shop in store or order all these items online, from the comfort of your own home and delivered straight to your front door.
Check it out! www.buildit-store.co.za
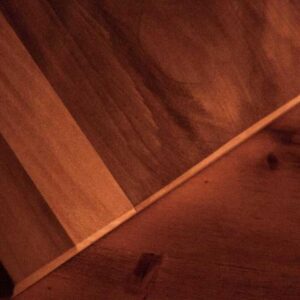
Selecting The Right Timber:
Selecting the right timber for a butcher block cutting board is very important. The timber should be dense enough to withstand the constant pounding that a cutting board must endure. The material should not transfer any flavour to the foods that are processed on it. Generally, hardwoods such as Meranti, Oak, Maple, Cherry etc. are ideal.
All African hardwoods can be used. You may want to use two different species of timber with contrasting colours to make your cutting block. Most cutting boards are made of narrow, deep strips laminated or glued together. Today we will focus on the glueing method.
Making The Cutting Board:
Size the cutting board according to your needs and specifications. The length and width may be whatever you choose, but the thickness should be at a minimum of 25mm at least, to give the board substance.
You can prepare and assemble the timber using the following steps:
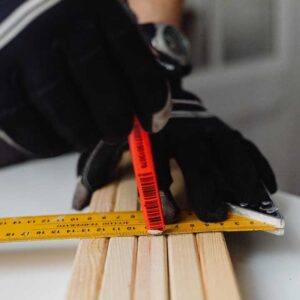
Step 1:
Cut the timber half an inch longer than the desired length of the cutting board.
Step 2:
Set the fence on the table saw and rip cut the stock 1,6mm wider than the cutting board depth. Depending on the thickness of the cutting board, you may be able to get more than one piece from each board.
For example, if the cutting board is 38mm thick and you are using 25 x 100 (1 x 4’s), you can cut two pieces from a single board.
Step 3:
Lay the pieces out on a flat surface, glue and clamp them together.
What Glue Should You Use?
Build it Hermanus would recommend any of the following two glues for your cutting board, as they are both non-toxic and safe to use.
GlueDevil Wood Glue is a versatile fast-drying, multi-purpose wood adhesive. It is a polyvinyl acetate (PVA) which dries by evaporation of water, without heat to form a tough, sturdy, non-visible bond as it dries clear. GlueDevil Wood Glue is suitable for both hardwoods (e.g. imbula, oak) and softwoods (e.g. pine) as well as processed boards (e.g. hardboard, chipboard).
Alcolin Fast Set Wood Glue is a high quality, fast setting polyvinyl acetate-based wood adhesive. It dries clear to form a tough, non-visible glue-line which is stronger than wood. Excellent adhesion to medium woods, softwoods, processed board, leather, cloth, felt, paper, cardboard, cork, and most other porous materials.
Tip: Use the glue sparingly and remove any excess glue as soon as it squeezes out.
Step 4:
Allow the glue to set and cure, as per the instructions on the packaging.
Step 5:
Remove the clamps, use a table saw to cut the cutting board to the proper length.
Step 6:
Use the belt sander to smooth and level the cutting board.
Step 7:
Use a router or sander to round the edges of the board.
Step 8:
Apply a coat of mineral oil to the entire cutting board to keep the board from drying out and cracking, then let it sit overnight.
Step 9:
Wipe away any remaining oil and your cutting board is now ready to use.
Caring For Your Cutting Board:
Thoroughly clean the cutting board after each use with hot soapy water and a mixture of two tablespoons of Jik to one litre of water to kill any bacteria on the board.
Always dry the board thoroughly before you store it, and apply mineral oil monthly, to extend the life of your cutting board.
Mineral oil (liquid paraffin) is a non-toxic, non-drying product derived from petroleum that is colourless, odourless, and flavourless. Its properties prevent water absorption, which makes food-grade mineral oil a popular choice for wooden kitchen items such as wooden spoons, bowls, and, of course, cutting boards.
Regular application of mineral oil will prevent cutting boards from becoming dry and brittle, which can cause a cracked board. A board that is treated with oil also prevents liquids from penetrating the board, which is often the source of germs and bacteria.
Oiling a cutting board is quite easy, pour a few tablespoons of mineral oil (rated for food) on top of the clean dry cutting board surface, then rub the oil in using a soft cloth.Be sure to cover the entire surface including the end grains, then wipe away any excess oil with a paper towel.Let your cutting board air-dry overnight and it will be ready to store.
Send us a photo of your new wooden cutting board, we would love to see it, you can upload your images in the comments section!
Plan your next DIY project with Build it Hermanus and get the job done right, first time. Please follow us on social media to stay up to date with our latest sizzling specials and promotional offers!
Or log on to our online store and shop from the comfort of your home: www.buildit-store.co.za
Build it Hermanus offers added value services in respect of hardware retailing; embracing all activity within the building materials industry, focusing specifically on the building of; urban, township, rural housing as well as all home improvements and do it yourself.